I found this awesome project by MadeByGirl and fell in love! I hope you'll enjoy making it as much as I did :)
Pin the things that inspire you, hang it (or just let it sit like I did) and let the dreaming begin!
Supplies: Frame, unframed corkboard, fabric, spray paint, glue, scissors and an iron
Step 1: Spray paint your frame.
Some of you might choose to keep your frame as is, and that's perfectly fine. I bought my frame at Michaels for about $35 and used Krylon's Webbing Spray in white. You can find this spray at Pearl for about $5.
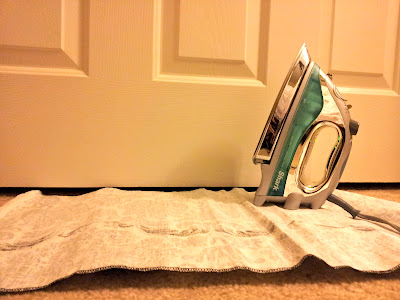
Step 2: Iron the fabric.
Step 3: Cut the fabric accordingly. Make sure the fabric reaches at leas 1" past the edge of the corkboard. Run a semi-thick amount of glue along the edge of the corkboard and all over the interior.
Smooth out the fabric so you don't leave any lumps.
Step 4: Once the corkborad is dry and ready, simply pop it into the frame.
The original instructions for this project were a little too complicated for me (amateur, I know), so my board isn't as fancy as the link I provided above because the back of my frame doesn't have a cover. Since the back isn't visible, because the board is placed against my wall, it doesn't really bother me :)
If you have any questions feel free to comment below!
XO,
Pris


